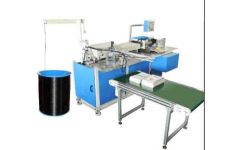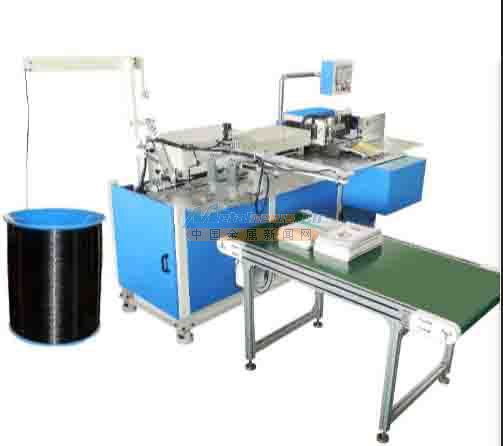
5.2台历 挂历 笔记本全自动YO单/双线圈装订机调试芯棒 Mandrill adjustment
5.2.1要成形不同大小的线圈,须选用相应的线圈芯棒,选定适合的芯棒后,先将芯棒插入主轴并从主轴的另一端用螺丝锁紧,开机运转时,芯棒应与主轴同心.
Chose suitable mandrill according to different coil size. After install the mandrill onto the main axis with tighten screws, the mandrill should be the same concentric of the main axis when the machine is running.
5.2.2台历 挂历 笔记本全自动YO单/双线圈装订机上有三个插针板,作用是固定线圈的齿距.插针板须定在对应的插针板座上,从前方向下编号顺序为1,2,3.
There are three pieces of pin stands. Order number 1,2,3 from the front to the lower one. Pins are fixed onto the stands for supporting the teeth pitch.
5.2.3把台历 挂历 笔记本全自动YO单/双线圈装订机插针插入插针板上,注意针端与芯棒面须有0.05-0.15的间隙(工具箱配有塞尺).间隙过大,线材表面会刮花,如针端与芯棒配合过紧,则会刮花芯棒表面,造成坑槽,容易卡线和刮花线材.
When install the pins please keep the gap between 0.05-0.15mm (tool box has feeler gauge). once the gap too big the wire material easy get scratched. The mandrill could be scratched the surface if the pins too closed. The mandrill the slot caused and could be damage the wire materials, too.
5.2.4调整好插针以后,把线材一端折弯成钩状, 延顺时针方向向右环绕芯棒,穿过每根插针,见图二.穿线后,按”手动绕线”按钮,使线材环绕芯棒转动,拉出首段线圈剪掉(因开始手动穿线时的原因,形状不良).
After the pins installed, pressed the wire with hook shape, turn clock wise with the wire goes through each pines as photo 2. After the wiring done press “Manual Wiring Button” which turns around the mandrill running. Pull out the first sect and cut it out. (Because of wire shape no good when the first manual wiring).
5.3 调试台历 挂历 笔记本全自动YO单/双线圈装订机齿距 Teeth pitch adjustment
齿距是通过以下三个零件固定的,1插针板、2插针、3导线块
There are three parts supporting with the wire. 1. The pins. 2. The pin stands and 3. The teeth guide.
5.3.1台历 挂历 笔记本全自动YO单/双线圈装订机导线块是各种齿距通用一个规格,只须通过调整导线块旁边的“齿距调节螺丝”将其左右移动位置。

